Thursday 28 July 2011

Alloy Wheels - Swing Away Carrier - Fitting the Spare - Part2

After seeking advice on the forums, I now know that some big washers are required to stop the wheelnut attached to the carrier from going inside the alloys.

So yesterday I ordered some M16 x 50mm Square spreader plate type washers from Wickes.  However, I am going on holiday tonight so, although the washers were a couple quid, I paid more than a tenner for next morning delivery.

This Morning I waited...and waited...after calling them at 2pm, I found the washers had gone to London by mistake.  This might not be the norm, but I doubt I will trust Wickes again in a hurry.

After some frantic internet searching, I found a local supplier that had them in stock, so, after much cursing I had the required washers.

I removed and refitted the wheel nuts with the flat sides facing away from the door and then put on the washers after giving them a coat of copper grease.


I then fitted the repainted alloy wheel with its new BFG tyre.


I feel much better about driving down to Devon tonight with the proper spare wheel on the back.

Monday 25 July 2011

Alloy Wheels - Swing Away Carrier - Fitting the Spare - Part1

Just cant figure out how fit an alloy to this carrier.

So I am going to ask for help on the forums.

Saturday 23 July 2011

Alloy Wheels - Painting the Spare - Part3

So, got a can of silver sparkle and a can of clear lacquer from Autopaint, St Helens on Thursday.  Masked the wheel as before and gave it a coat of silver on Friday night.

Obviously when you remove the masking tape there is a small but clearly visible step from the new paint to the old.  I'm not sure what the correct method of removing this is, but I wiped along it with white spirit and this has blended it in nicely.  I also used this method to blend in the primer after removing the first lot of masking tape.

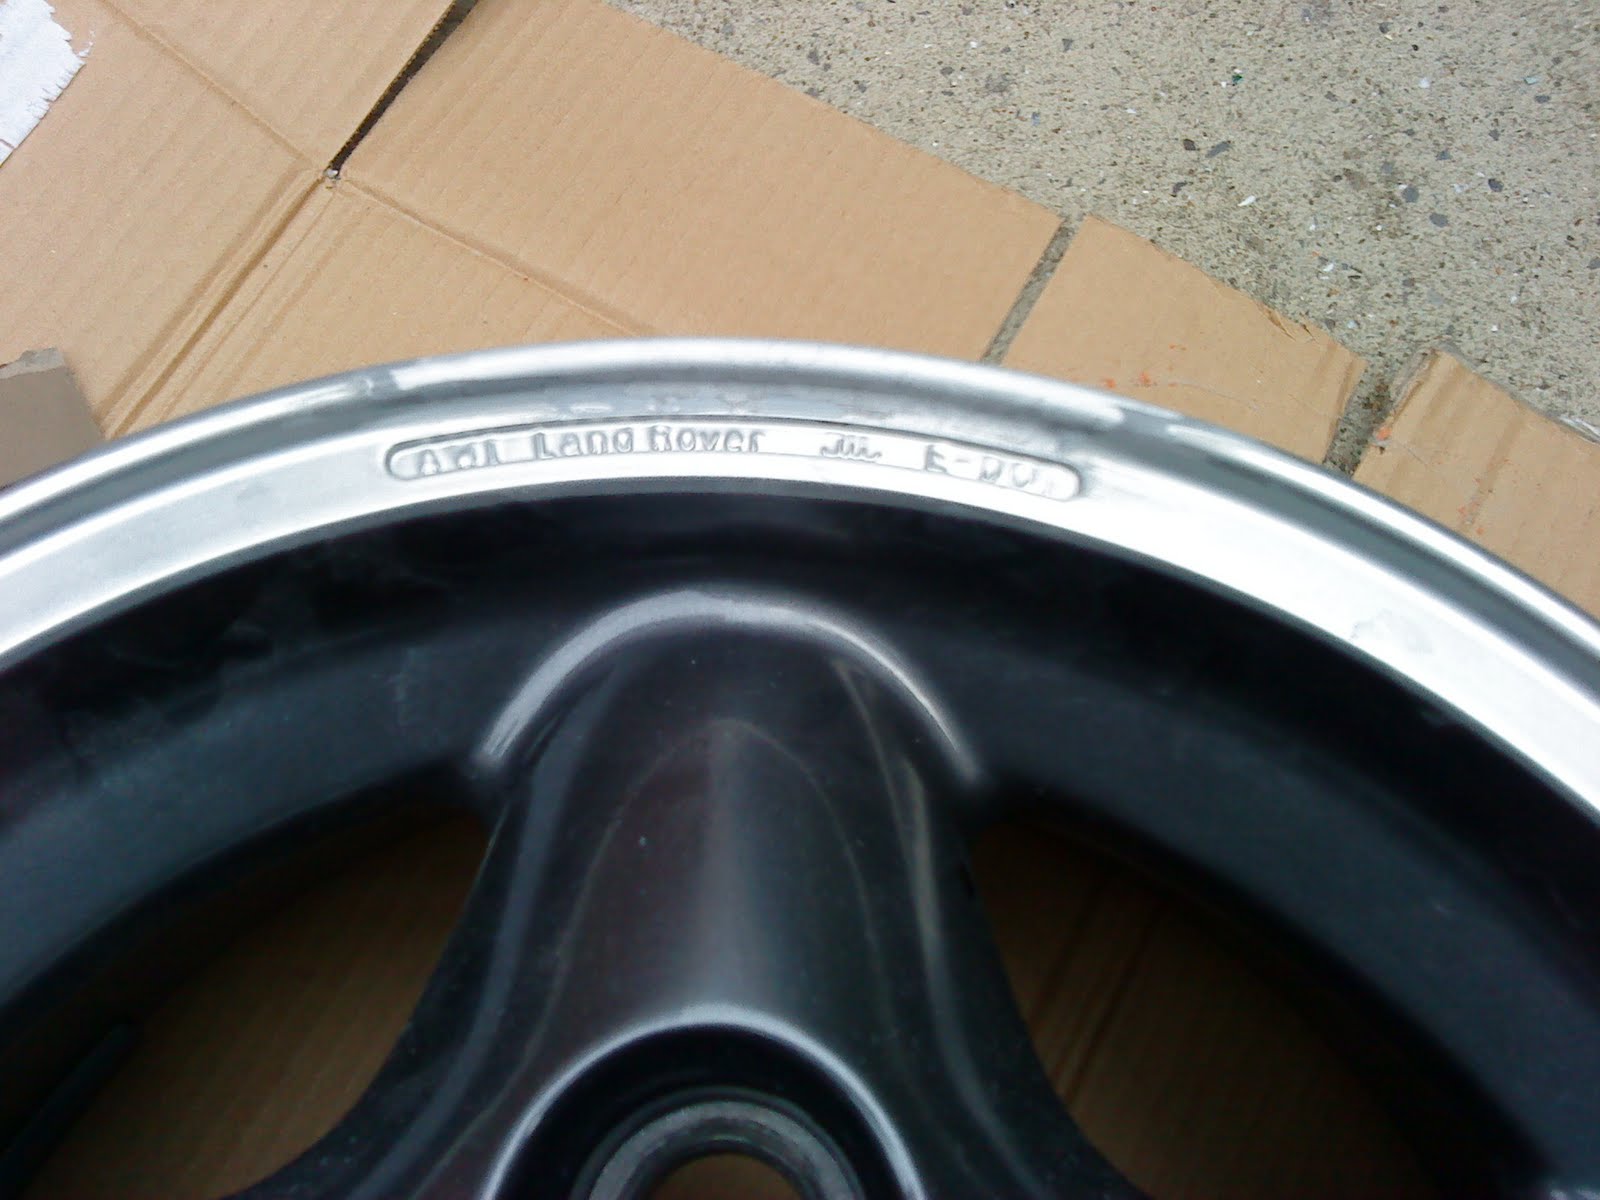
This morning I applied a coat of the clear lacquer.  This time I did not mask the wheel but did wipe off the overspray with white spirit.    The result is shown below.


I picked these tips up of the internet but as I said there may well be better (or more professional) methods but this way worked OK for me.


I am very happy with the finish and although it is far from perfect it looks a hundred times better than it did before.

It is not perfect though - I didn't use a tack rag before painting and a few traces of fluff found their way onto the surface.
Also I ended up using regular, rather than high build primer, as a result some slight pitting is still visible.
Also whilst the Autopaint spray is a decent colour match, the metallic particles seem larger  than in the original finish.  The refinished area thus looks more sparkly and stands out a little from its surroundings.

With this experience gained I sure will do a better job next time.  I now just have to wait a couple of days for the lacquer to harden before buying a new tyre.

Friday 15 July 2011

Alloy Wheels - Painting the Spare - Part2

So how daft am I?

I thought I had ordered two cans of spray paint - but had actually ordered two small touch up pots with liquid paper style brushes in the lids!


I'm sure they will come in useful for temporarily covering scuffs on the wheels without the need for masking etc. And the moral of this story is to read the descriptions properly and not to order off the internet whilst under the influence of Captain Morgan's.

Still need a can of silver spray paint though - have heard of a company in St Helens that will mix cans to order.  As it happens, I'm in St Helens on Monday.

Tuesday 12 July 2011

Alloy Wheels - Painting the Spare

The alloy wheels I bought some weeks ago came with a spare in very good condition.
Very good condition except for a small area of corrosion on the rim (I suspect due to an old wheel weight).  Since the corrosion extended to under where the rim of the tyre would sit, I didn't want a new tyre putting on until after the corrosion had been treated.


This morning I ordered a Silver Sparkle touch up pack STC8927VT (Note - I thought this is an aerosol - but it is actually a tube with brush) from www.brit-car.co.uk, and proceeded to remove the corrosion with a (cheap copy of a) Dremmel and smooth the surface with 400grade wet and dry.


I then masked and etch primed the surface and then gave the area a coat of primer.


When the silver paint arrives I will finish the job